


How to Remove Knife Marks from a Wood Cutting Board (At Home)
Knife marks happen. Here’s how to refresh your board without a shop full of tools.
The first shallow scratches on a hardwood cutting board mean it’s doing its job. Over time, though, those marks can collect moisture and food residue, making the board look tired. The good news: you can remove knife marks from a cutting board at home with simple sanding, a food-safe oil-and-wax finish, and a bit of patience.
Below, the makers at Old Line Woodcraft walk through a practical, material-first approach that works on common species like walnut, maple, cherry, hickory, and even vivid exotics such as purpleheart, padauk, canarywood, leopardwood, and mahogany.
Assess the surface: scratch depth, grain orientation, and species
Start by deciding how much work your board needs. Light, shallow knife trails and general haze can be addressed with a quick surface refresh. Deeper grooves, raised fibers, or a dry, gray look call for a full sand and refinish.
Grain orientation matters:
- Edge- or face-grain boards (linear grain you can trace with your finger): scratches usually run with your knife strokes and sand out quickly.
- End-grain boards (checkerboard pattern of short grain): they resist cuts well, but when marks appear, you’ll want a flatter sanding approach and a measured progression through grits.
Species also influence the process. Dense, deep-brown walnut and tight-grained maple sand cleanly. Cherry’s warm tone reveals scratches readily but finishes beautifully. Hickory is tough—use fresh paper. With vibrant exotics like purpleheart or padauk, colored dust can transfer into lighter maple stripes; work clean and vacuum often.
What you’ll need
- Sanding block or flat backer (cork, rubber, or a hard foam block)
- Sandpaper grits: 120, 150, 180, 220 (optionally 320 for a smoother feel)
- Vacuum or brush, plus a clean, slightly damp cloth
- Spray bottle with water (to raise grain between grits)
- Food-grade mineral oil or a pure drying oil used for boards (applied correctly)
- Beeswax-based board wax or a food-safe oil-and-wax blend
- Optional: painter’s tape to shield any engraved mark, and a card scraper for localized grooves
Quick refresh for light scratches (10–20 minutes)
If the surface is mostly smooth with just a dull look and scattered knife trails:
- Clean: Wipe the board with a damp cloth and let it dry fully.
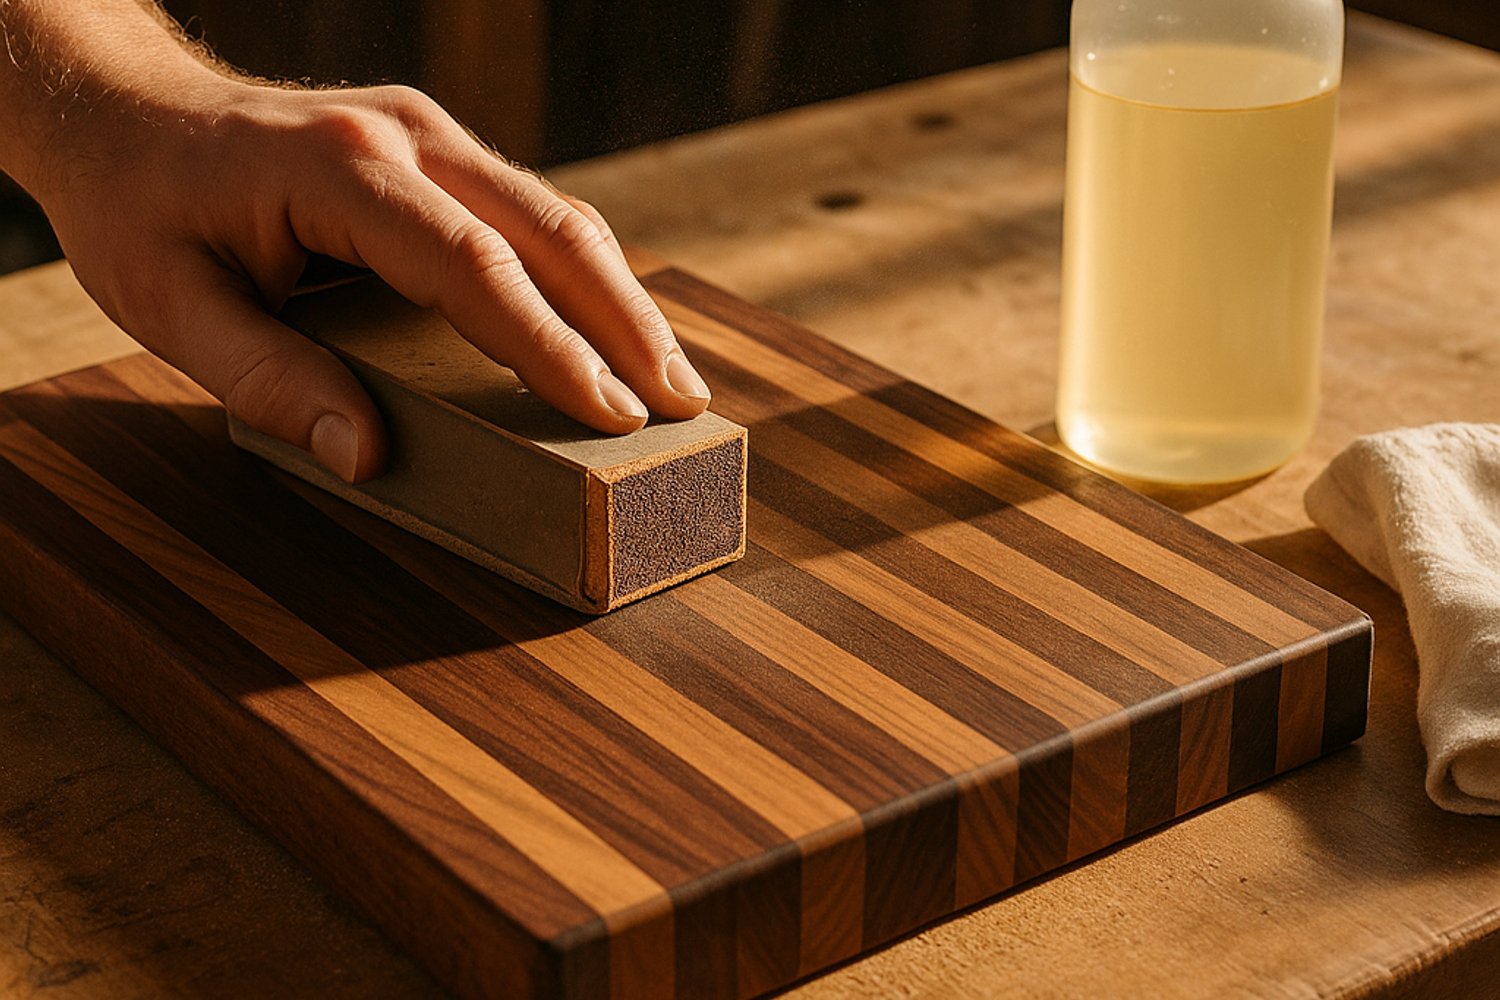
- Light sanding: Hand-sand with 180 grit on a flat block, following the grain on edge- and face-grain boards. On end-grain, use light, even passes and keep the block flat.
- Raise the grain: Mist the surface lightly with water. When dry to the touch, make a few passes with 220 grit. This reduces post-wash fuzz.
- Finish: Flood with food-grade mineral oil, let it soak 15–20 minutes, wipe off excess, then buff a thin coat of board wax for a soft, protective sheen.
Full restoration for deeper knife marks
When you can feel the cuts with a fingernail, a deeper refinish will remove knife marks from the cutting board and even out the surface.
1) Secure and protect
Place the board on a non-slip mat. Tape over any engraved areas or maker’s mark if you want to keep edges crisp during sanding.
2) Level the worst marks
Start with 120 grit on a flat sanding block. Work with the grain on edge- and face-grain boards. For end-grain, use steady, overlapping strokes and moderate pressure—let the grit do the work, not force. If a few isolated grooves remain, spot-treat them with a card scraper held flat, then return to the sanding block to re-flatten.
3) Refine the surface
Progress through 150, 180, and 220 grits. Vacuum or brush between grits. Lightly mist the surface with water after 150 to raise the grain, then continue sanding. Avoid rounding over corners; maintain the board’s softened perimeter without creating dips.
4) Keep colors clean on multi-species boards
On striped designs—maple alongside walnut, cherry, or exotics—colored dust can smear into lighter wood. Work with clean paper, vacuum frequently, and wipe with a slightly damp cloth between grits. If you’re tackling vivid purpleheart or padauk next to maple, change paper more often and avoid dragging dust across light sections.
5) Re-oil generously
Warm the board slightly (room temperature is fine). Flood the surface with oil and spread evenly. Allow the board to drink for 20–30 minutes. Wipe away excess and repeat once more for very dry wood. After a few hours, buff on a thin coat of beeswax-based board wax and polish to a natural matte sheen.
Special notes for end-grain boards
End-grain is forgiving in use yet particular during resurfacing. To keep things flat:
- Use a dead-flat backer: A stiff sanding block maintains a planar surface. Avoid soft foam that can dish out the pattern.
- Steady, even strokes: Cross-grain swirls aren’t an issue with end-grain, but uneven pressure is. Keep pressure uniform, especially near the edges.
- Stop at 220: Higher grits can burnish end-grain and slow oil absorption. If you prefer a silkier feel, a brief 320 pass is fine—just re-oil thoroughly.
When the problem isn’t just scratches
Cupping or twist: Minor cup can sometimes be improved by sanding the high side with 120 on a flat backer until the surface is even, then refining through the grits. If the board rocks or is significantly cupped, that’s a sign to let a shop flatten it.
Stains and odors: After sanding, sprinkle coarse salt and rub with half a lemon to deodorize, then rinse and dry thoroughly before oiling. This won’t remove knife marks, but it helps with freshness.
Glue seams showing: Dark lines that don’t sand out may be glue lines; stop before you thin the board too much. Refinish and continue regular care.
Finishing that protects: oil and wax, the right way
For kitchen pieces, a food-safe oil-and-wax finish is simple and reliable. Food-grade mineral oil is easy to refresh and won’t go rancid. If you use a drying oil formulated for boards, apply thin coats and let it cure fully per directions before waxing.
Application rhythm:
- Oil until the surface stops absorbing quickly (one to three coats for a dry board).
- Allow a full wipe-down and dry period between coats.
- Finish with a thin, even coat of board wax. Buff to a subtle satin sheen.
Routine touch-ups keep fibers conditioned, which visually minimizes fine knife trails and makes deeper marks less likely to form.
Preventing new knife marks (as much as practical)
- Keep the surface conditioned: A dry board shows damage faster. Lightly oil whenever water no longer beads on the surface.
- Use sharp knives: Dull blades crush fibers and leave ragged tracks. A sharp edge cuts cleanly and is easier on the board.
- Rotate your workspace: Move around the board so wear distributes evenly.
- Match task to side: Reserve one face for heavy chopping and the other for serving to keep a clean presentation surface.
- Wash and dry promptly: No soaking. Stand the board on edge to dry fully.
A note on species character
Each hardwood tells a story in use. Maple’s pale, closed grain hides fine marks well once re-oiled. Walnut’s rich brown tones showcase a smooth, even surface after a proper sand. Cherry evolves to a warm amber over time, and light resurfacing blends old and new color nicely. Hickory is resilient and benefits from fresh paper and patient sanding. With exotics—purpleheart’s vivid tone, padauk’s orange-red base, leopardwood’s dramatic flecking, canarywood’s shifting golds, and mahogany’s classic warmth—work clean and finish thoughtfully to preserve the natural color and figure.
Bring it back to life
To remove knife marks from a cutting board, you don’t need industrial machines—just flat sanding, a careful grit progression, and a food-safe oil-and-wax finish. A refreshed surface feels better under the knife, cleans up easier, and looks right at home on the counter.
If you found this guide useful and want more material-forward care tips from a small-batch shop, explore our shop and come back next week for more.