


Reading Wood Grain: How to Spot and Handle Reversing Grain
Ever run a board through the planer or across a hand plane, only to end up with fuzzy patches and torn fibers? That’s reversing grain at work. Reading wood grain before you cut or surface a board is one of those quiet skills that saves time, material, and sanding later on. Here’s how we spot it in the Old Line Woodcraft shop—and what we change when the grain starts to fight back.
What is reversing grain—and why does it cause tear-out?
Wood fibers don’t always run in one direction. In many boards, the grain gently slopes from one end to the other. But in areas with figure, knots, or interlocked growth, the grain can switch direction—sometimes every inch or two. That switch is called reversing (or changing) grain. When a cutting edge meets fibers that lift upward rather than lay down, the tool pries them out instead of slicing them cleanly. The result is tear-out: rough patches, chatter, and craters that are hard to hide under a clear finish.
Start with end grain: the most honest indicator
The end of a board acts like an arrow for planing and jointing. Look for the tiny lines of the growth rings on the end face.
- If the lines slope upward away from you, plane from the low end toward the high end—downhill with the grain.
- If the slope changes across the width (an S-shape or wave), expect reversing grain across the face. Mark those zones.
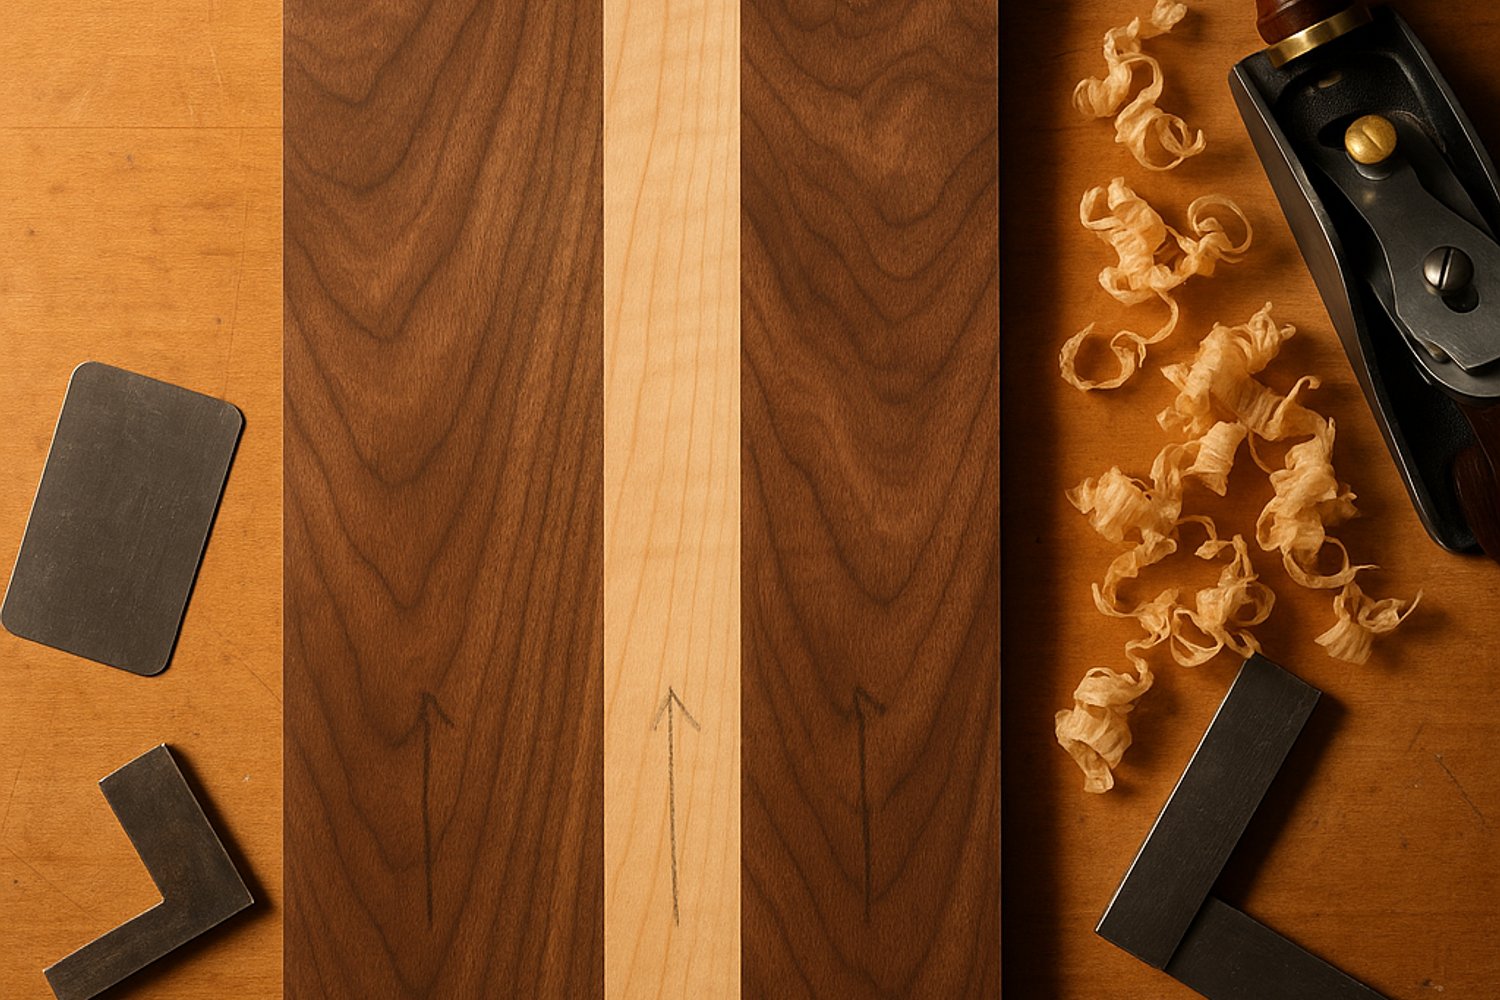
We’ll often draw light arrows on the edges and face to remind ourselves which direction behaves best—especially helpful during panel glue-ups or when surfacing a stack of parts.
Reading the face: cathedrals, shimmer, and shadow
On the wide face, visual cues tell you where fibers want to lift.
- Cathedral patterns: The pointed tops of the “cathedrals” usually point in the direction you should plane. If those points flip orientation across the board, grain is reversing there.
- Ribbon or shimmer: A rippling, light-dark effect that changes as you tilt the board often signals interlocked grain. Expect alternating directions along those bands.
- Swirls near knots or burls: Fibers radiate in unpredictable ways—plan for short, careful cuts and a scraper finish.
Light helps: rake a soft shop light across the surface at a low angle. Roughness and torn fibers cast tiny shadows and show where the cutting direction went against the grain.
Touch still matters: feel the surface before you cut
Run your fingertips lightly along the board in both directions. One way will feel smoother; the other way may feel slightly rough or catch your skin. Plane or joint in the smoother direction. This quick check is especially helpful with closed-grain domestic hardwoods like maple and cherry where visual cues can be subtle.
When the grain fights back: strategies that work
Reversing grain doesn’t have to ruin a surface. Adjusting cut, angle, and tool choice makes a noticeable difference.
- Take lighter cuts: Whether by hand plane or power planer, reduce depth. Shallow passes slice fibers instead of levering them out.
- Skew the cut: Angle a hand plane or feed the board slightly askew on the jointer. The skew acts like a slicing cut, lowering the effective cutting angle.
- Sharpen sooner: A fresh, keen edge reduces tear-out dramatically. A tiny secondary bevel and a polished edge on a plane iron or chisel go a long way.
- Increase cutting angle: A high-angle hand plane or a back bevel on the iron helps tame interlocked grain by pushing fibers down as they’re cut.
- Use a card scraper or cabinet scraper: Scrapers excel on patchy, reversing areas where a plane misbehaves. Burnish a clean burr and work with light, overlapping strokes.
- Sand thoughtfully: If tear-out is shallow, start a grit or two lower than usual (e.g., 100–120) and progress evenly. Don’t skip grits; skippers leave low spots visible under finish.
- Re-orient parts when possible: If you’re laying out cutting board strips or box panels, flip a piece so its grain direction aligns with its neighbors before the glue sets.
Species notes from our bench
Different hardwoods telegraph reversing grain in different ways. Here’s what we commonly see with species we keep in the shop.
- Maple: Pale and tight-grained. Curly or birdseye maple shows lively figure that flips direction rapidly—light passes and scraper finishing are your friends.
- Cherry: Smooth, closed grain with occasional swirls and pitch pockets. Watch for direction changes around those swirls; take shorter cuts to avoid burnishing.
- Walnut: Generally cooperative with gentle, flowing grain. Crotch and feathered zones can reverse; skew the cut and switch to a scraper near figure.
- Hickory: Strong contrast between earlywood and latewood can tear along the open grain lines. Use sharp knives and reduce depth to avoid plucking.
- Mahogany: Some boards show ribbon-like shimmer from interlocked grain. A higher cutting angle and scraper cleanup keep surfaces crisp.
- Leopardwood: Dramatic lace figure comes from strong interlock; it loves to tear with straight-on cuts. Skew, lighten, and finish with a scraper.
- Padauk: Dense with orange-red tones and occasional interlock. Keep edges keen and expect to skew; vacuum dust frequently to prevent re-scratching.
- Purpleheart: Usually straight but can chip where grain shifts near knots or runout. Take fine cuts and avoid aggressive passes when surfacing.
- Canarywood: Varied color bands sometimes coincide with changing grain direction. Read both end grain and face carefully before setting your cut.
Glue-ups and grain: plan ahead to save sanding later
Reading grain pays off most before glue hits the clamps. A few minutes of layout can save an hour of sanding.
- Edge-grain cutting boards: Orient strips so planing “downhill” is consistent across the width. Mark arrows on the edges before glue-up to maintain orientation.
- Panel work for boxes and décor: When bookmatching or assembling multi-panel glue-ups, make sure the grain direction at each seam agrees—or at least doesn’t reverse sharply.
- Thicknessing strategy: If a panel has one troublesome zone, surface the cooperative face first, then take very light passes or switch to hand tools to finish the difficult side.
Tool-specific adjustments that help
How you set up your tools can make or break a surface on tricky stock.
- Hand planes: Tighten the mouth opening, use a sharp iron with a slight camber, and consider a higher effective angle for interlocked grain. A light skew distributes the cut.
- Jointers and planers: Reduce depth to a fine pass and feed steadily. If you see tear-out starting, flip the board end-for-end and try the other direction.
- Routers: Climb cuts can reduce breakout on short edges, but use with care and a firm hold. Often, a light cleanup pass with a sharp hand tool gives a cleaner result.
Finishing the surface: make the figure, not the flaws, stand out
Once you’ve tamed tear-out, highlight the grain you worked to preserve. On kitchen items, a food-safe oil-and-wax finish deepens color and keeps the tactile feel of hardwood. On boxes and décor, a hand-rubbed oil or protective clear finish will bring out color contrast and figure without clouding detail. Clean surfaces show off what the wood is already offering.
A small-shop habit worth building
Reading grain isn’t guesswork; it’s a practiced look, a fingertip pass, and a plan for how your tools meet the fibers. In our small-batch shop, those steps are routine. A few extra minutes up front prevents hours of recovery later—and lets the natural character of walnut, maple, cherry, and the more dramatic exotics shine through without distraction.
If you found this helpful, explore our shop updates and educational notes, and check back next week for more practical woodworking insights from the bench.